


Oxidation, a natural process causing discolouration and damage, is a common issue in automotive detailing and DIY projects. Understanding its impact is key for maintaining aesthetics and extending item lifespans. Various oxidation removal methods exist, from chemical oxidizers (potent but risky) to physical techniques, natural oils, UV protection graphics, and heat rejection technologies. This guide offers a comprehensive DIY approach to oxidation removal using over-the-counter products, focusing on safety, cleaning, application, heat treatment, rinsing, drying, and inspection. It's suitable for vehicle care and other surfaces.
Tired of seeing faded, discolored surfaces due to oxidation? Don’t worry, you’re not alone. Oxidation can be a real headache, but fear not! This article is your DIY guide to tackling oxidation head-on. We’ll first unravel the mysteries of oxidation and its impact on various surfaces. Then, we’ll dive into the top products designed for effective home oxidation removal, offering a comprehensive review to help you choose wisely. Lastly, we’ll provide a step-by-step guide to ensure optimal results. Get ready to reclaim your space and say goodbye to oxidized marks!
- Understanding Oxidation and Its Impact on Surfaces
- Top Products for DIY Oxidation Removal: A Comprehensive Review
- Step-by-Step Guide: Using These Products Effectively at Home
Understanding Oxidation and Its Impact on Surfaces
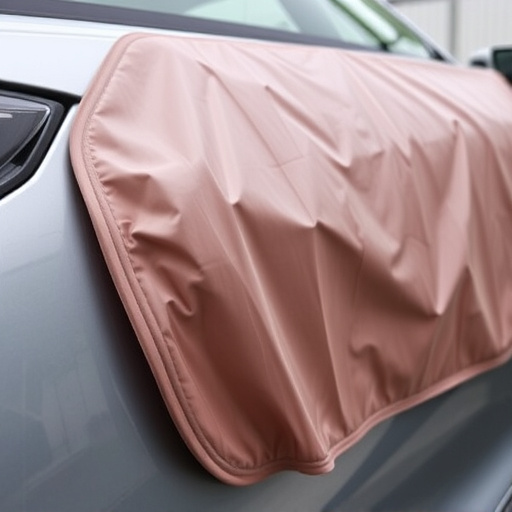
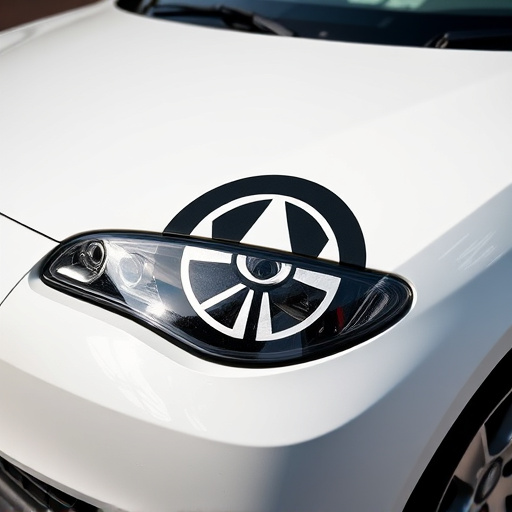
Oxidation is a natural process that occurs when certain materials interact with oxygen over time. It’s a common issue in various aspects of our lives, from metal and wood to vehicles and other personal belongings. When left unaddressed, oxidation can lead to unsightly stains, discolouration, and even structural damage. This is particularly evident in automotive detailing, where custom vehicle wraps and paint jobs can quickly deteriorate due to exposure to the elements.
In DIY projects around the home, oxidation removal is crucial for maintaining the aesthetics and longevity of various surfaces. Whether it’s removing rust from metal fixtures or restoring the shine on wooden floors, understanding the impact of oxidation is the first step towards effective home remedies. By tackling oxidation head-on, homeowners can save money, extend the life of their possessions, and preserve the beauty of their living spaces.
Top Products for DIY Oxidation Removal: A Comprehensive Review
When it comes to DIY oxidation removal, there are several top products that stand out for their effectiveness and accessibility. These solutions cater to a range of needs, from auto enthusiasts looking to restore their vehicle’s shine to homeowners aiming to revive faded outdoor furniture. One popular choice is chemical oxidizers, which can be highly potent in breaking down oxidation bonds. However, these chemicals require careful handling due to potential health risks.
Alternatively, physical methods like sandpaper and buffing compounds offer a safer approach, albeit more labor-intensive. For those seeking an eco-friendly solution, natural oils such as citrus or olive oil have gained traction for their ability to gently remove oxidation without harsh chemicals. In terms of UV protection, some products also incorporate custom graphics, adding not only functionality but also a unique aesthetic touch. Heat rejection technologies are another innovative addition, helping to mitigate the damaging effects of heat on treated surfaces.
Step-by-Step Guide: Using These Products Effectively at Home

Using DIY oxidation removal products at home can seem daunting, but with a simple step-by-step guide, you’ll achieve professional results. First, prepare your workspace by ensuring good ventilation to mitigate any harmful fumes. Put on protective gloves and goggles to shield yourself from chemicals. Start by cleaning the affected area thoroughly with a mild detergent and water. This initial step helps in removing surface dirt and grime that might interfere with the oxidation removal process.
Next, apply the chosen oxidation remover according to the product’s instructions. Most products recommend using a soft cloth or sponge for even application. Allow the remover to sit for the recommended time frame—this could range from a few minutes to an hour. For tougher stains, consider applying heat gently with a heat gun or hair dryer to speed up the chemical reaction. Once the set time is complete, rinse the area thoroughly with water and dry it completely. Finally, inspect your work and, if necessary, repeat the process until all oxidation is removed, ensuring you achieve high-quality finishes on your vehicle protection or any other surface you’re treating.
In conclusion, understanding oxidation and its impact on surfaces is the first step towards effective DIY oxidation removal. By familiarizing yourself with common causes and effects of oxidation, you can make informed decisions about the best products for your needs. This article has reviewed top products designed to tackle oxidation at home, offering a comprehensive guide to help you achieve gleaming, oxidized surface restoration. Following the simple, step-by-step instructions will enable you to effectively remove oxidation and maintain a fresh, protected finish. With the right tools and knowledge, DIY oxidation removal is achievable, allowing you to restore and preserve your surfaces with ease.